Hand Sanding a Blade
Hand Sanding a Blade
Hand sanding is an effective, if slow, way to finish a forged knife blade. While it can be done with power tools, they are not essential to do the job. I recommend beginners approach sanders and buffers carefully, as they are among the most dangerous tools in the shop. It’s easy to make a mistake, and compound it so fast as to ruin a piece because of it. Working by hand is slower, true, but the end result is likely to be better, especially if you’re willing to put even a modicum of care into the work.
Step one is to get some paint stirring sticks from your neighborhood box store. Usually, they’ll give you a handfull for free. Barring that, small bundles of them are inexpensive in the box store paint departments.
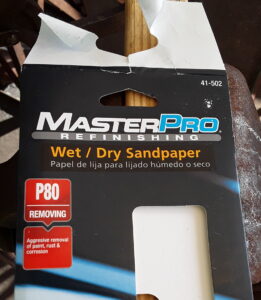
Different brands of wet/dry sandpaper will be available in different areas, but they all do the same job.
Step two is to go to the auto parts store and get a selection of wet-or-dry abrasive paper. These can often be bought in sample packs with a variety of grits in one pack for around $10-$15. An 80 grit paper is coarse, and for surface rust you probably won’t need it, but for deep pitting it could come in handy. You need a variety of progressively finer grits; 120-150, 220, 320, 400, 600, and if you really like mirror finish, you might go to 800 and 1000 grit. I like a satin finish, myself, and don’t really like anything over 600 grit. But it’s a personal decision. If you’re really into the mirror polish, sandpaper is available up to 2000 grit fine paper.
The sandpaper in these variety packs comes in a strip or a sheet. It’s acceptable to tear these into more manageable sizes, if the full size is awkward to use. If you fold the paper where you want to tear it, it’s easier to get a straight tear along the fold line than if you simply tear without pre-folding. You can also cut with scissors, but it’s hard on the scissors.
You want to select the finest grit of paper that will get the job done. Only experience will inform you how to make that decision. If you start with too fine a grit, it takes too long and uses too much sandpaper to get the job done. If you start with too coarse a grit, you’ll spend too much time and finer paper removing the scratches from the coarse paper.
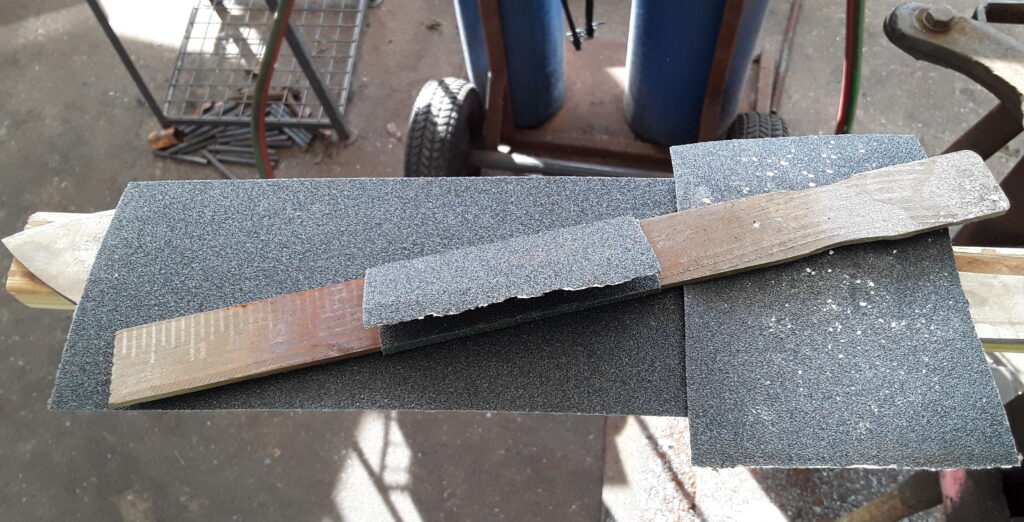
This shows 80 grit sandpaper wrapped around a sanding stick.
Wrap a piece of sandpaper around your paint stick so you can hold it securely to the stick and keep it flat against the stick as you sand. I usually start along one edge of a flat side of the stick, lay the paper across that flat side, roll it around and across the other side of the stick, then back around and over the first layer, tearing it off on the opposite edge of the stick from the first edge of the paper. You should have a stick wrapped with sandpaper all the way around, with a single layer on one side and two overlapping layers on the other. When one of the overlapping layers gets dull, you can swap the overlap and use the other. Even the paper on the edges of the sanding stick have tooth, and you can use them, as well.
Now, place your blade where you can work on it. If you can dismount the furniture (guard, handle, pommel) to work on it, so much the better. If not, you’ll have a hard time cleaning the blade right up to the edge of the guard without doing any sanding damage to the guard. You can put masking tape over the guard to protect it from the sandpaper if you can’t remove it from the blade.
You want your blade to be secure while you work on it. I use a clamp to hold the blade to a narrow board (a 1″x2″ lath from the box store is a good choice), so that the blade is supported by the board when I push down with the sanding stick. If your board is long enough, you can also clamp it to a table, etc., so the blade is sticking out where you can get all around it. Some clamps from the hardware store that have rubber jaws that won’t mar your blades would be a good choice to use.
Support most or all of the blade, so it doesn’t flex while sanding. This will help keep the planes of the blade flat and true.
When your blade is ready to work on, squirt a few drops of light oil on it to use with the wet-or-dry sandpaper. The oil is the ‘wet’ that the name refers to. Now use the sandpaper wrapped stick like a file over the surfaces of the blade that need rust removed. Do your best to keep the stick flat and parallel to the flat surfaces of the blade to keep the blade geometry crisp. If you ‘wallow’ the sandpaper around carelessly, you’ll round over edges of planes on the blade that should remain crisp. If there are special shapes on your blades, like fullers, you can grind the end of a paint stick to custom fit in the shape, and tear narrower strips of sandpaper to sand inside those special shapes.
(ADDENDUM: Since initially writing this, I have found that Windex is a suitable substitute for light oil in this process, and considerably easier to clean up when you’re finished.)
The process for sanding with progressively finer papers is to pick a direction (for instance, either the length or the width of the blade) and sand in that direction until all pitting or surface rust has disappeared. Then, select the next finer grit of sandpaper and sand at a 45 degree angle to the first pass, remembering to use the oil. The scratches from the previous grit of sandpaper will show because they are at a different angle to the ones you are currently making. Keep sanding with the new paper until all marks from the first paper have disappeared.
When you have achieved that, again select the NEXT finer sandpaper and while remembering to use your wetting agent, sand at the OPPOSITE 45 degree angle to your original longitudinal sanding stroke, which will be 90 degrees to your previous pass. Again, sand until all marks from the previous sandpaper have disappeared.
It’s okay to use a rag and wipe the blade frequently to check your progress. Then, just reapply wetting agent and keep going if there’s more to do.
Your final pass will probably look best if it is longitudinal to the blade, simply because that’s the easiest way to take long, smooth sanding strokes. But in the end, finish with strokes going in whatever direction will give you the appearance you like best, whether it’s along the blade or across the blade, or any angle in between.
It helps if you can approach the work with a kind of zen attitude, or if you get as much pleasure from the process as you do from the product, like I do. Otherwise, this will likely be tedious for you. Power tools can make this go quicker, but they can also ruin things MUCH quicker, which is why I discourage their use in this application for new smiths.

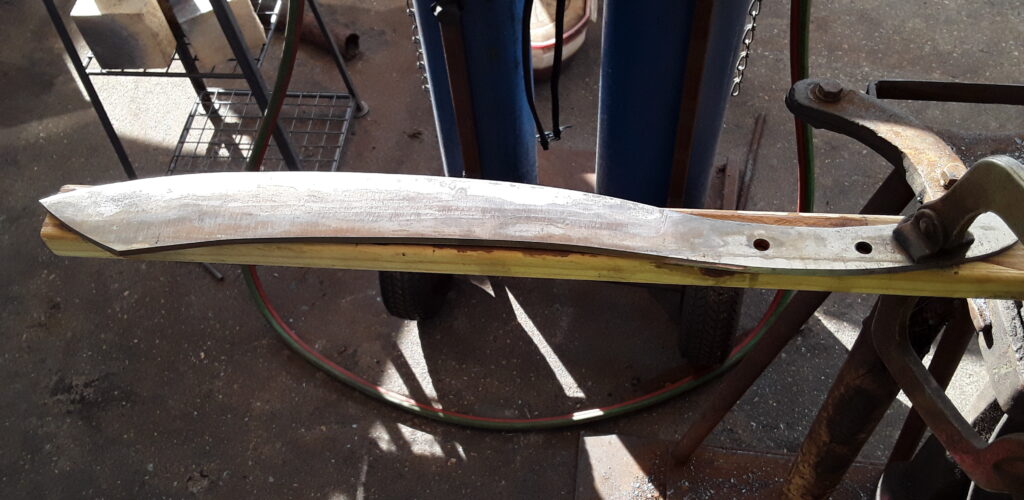
Knife hand sanded to 600 grit finish